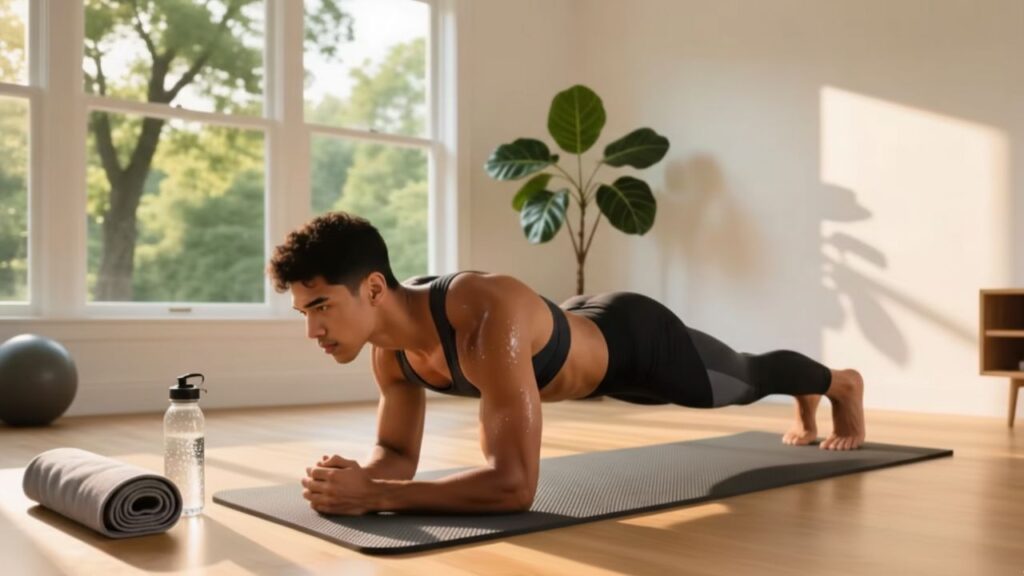
The feeling of your forearms cool on the floor, toes pressing into the mat, and legs growing stronger as your breathing becomes steady. You begin to wonder: How long should you hold this position? Ten seconds? Thirty? Or should you push for those long two minutes?
Planks are often seen as a simple exercise, but they’re really a conversation between your body and gravity that changes over time. What feels easy at 18 might be challenging at 48 or require more care at 68. Your core, always there to support your spine, protect your back, and make movement easier.
The question is: How long should you hold a plank to build strength without risking injury, fatigue, or losing control? The answer lies in understanding your body at this very moment.

Why Quality Matters More Than Duration
Fitness culture often glorifies extremes like two-minute planks or viral five-minute challenges. But the truth is quieter. After a certain point, holding a plank for longer only increases your tolerance to discomfort rather than actually making you stronger. High-quality, shorter holds are far more effective for building core strength and spinal health.
 Plank Hold Timing Explained: How Long You Should Hold a Plank to Build Core Strength at Every Age
While long planks are not inherently harmful, the risk-to-reward ratio increases as you fatigue. Instead of focusing on how long you can last, shift the focus to how well you’re taking care of your body.
Adapting Plank Holds to Your Age and Needs
As time passes, your body adapts, and recovery slows. Tissues become less forgiving, and balance requires more attention. But this is a normal biological process, not a sign of weakness.
For teens (13–19): Hold for 20–40 seconds, 2–4 sets, 2–4 days a week.
For adults in their 20s and 30s: Aim for 30–60 seconds, 2–4 sets, 3–5 days a week.
In your 40s: Target 20–45 seconds, 2–4 sets, 3–4 days a week.
In your 50s: Go for 15–40 seconds, 2–3 sets, 2–4 days a week.
For those in their 60s and 70s: Aim for 10–30 seconds, 2–3 sets, 2–4 days a week.
These are just guidelines, not hard rules. The most important thing is that you maintain honest form with each second you hold.
20s & 30s: Building Strength Without Overdoing It
In your 20s and 30s, the body is typically more resilient. You can push harder, and recovery is quicker. However, it’s important to avoid pushing too far. The danger isn’t weakness, but missing small signs of breakdown—such as hips dropping, shoulders rising, or lower back discomfort. Instead of doing one long hold, break it into several short, high-quality sets.
40s: Focusing on Long-Term Spinal Support
By the time you hit your 40s, your body’s feedback system becomes clearer. Old injuries might resurface, and recovery may take longer. At this stage, the focus shifts towards sustainability and spinal support. A plank range of 20–45 seconds, done several times, is usually ideal for this age group.
50s, 60s, and Beyond: Embracing Smart, Steady Strength
As you get older, muscle mass may decrease, and recovery slows, but that doesn’t mean you can’t continue to build strength. Short holds of 10–30 seconds with perfect form can still be incredibly effective. Using modifications like knee or incline planks helps keep you stable and safe while building strength.
Recognizing When to Stop
Your body always tells you when a plank has gone from helpful to harmful. Signs such as a sagging lower back, shoulders rising toward your ears, holding your breath, or tension spreading across your face are all indicators that it’s time to stop.

When you stop the plank as soon as your form begins to falter, you’re not quitting. You’re training your efficiency and control, rather than pushing through poor form.
Making Planks a Consistent Habit
There’s no need for dramatic planks. They can easily be added to your daily routine, fitting in before coffee, after work, and even before bed. These small efforts add up over time and help you build consistent core strength.
Seven-Minute Hip Mobility Routine: An Easy Fix for Tight Hips
After sitting for long periods, I started noticing an increase in hip stiffness. Mobility work is helpful, but it has to fit into my busy schedule. That’s when I tried Lindsey Bomgren’s seven-minute hip mobility routine, which she designed to loosen tight hips without needing equipment or taking much time. I stuck with it every day for three weeks and saw significant improvements.
The Seven Exercises
The routine includes seven exercises, each lasting one minute. Lindsey recommends stopping at any point to focus more on the exercises you find most beneficial. The routine involves:
– Pigeon pose 90/90
– Lifts of the 90/90 rear knee and heel
– Circles with hips on a table
– Frog-like rocks
– V-sit leg lifts
– Cossack squats
This sequence moves your hips through various positions, targeting both internal and external hip rotation. It also balances strength and mobility by using active movements like V-sit leg lifts and Cossack squats, which help improve flexibility over time.
Progress I Saw After Three Weeks
After just one week, I noticed it was easier to get up from a chair and take longer steps. By the third week, the stiffness I used to feel from sitting all day was almost completely gone. The improvements weren’t just temporary—they lasted throughout the day.
Why Seven Minutes Works
Seven minutes may seem short, but it’s the perfect amount of time to fit into a busy schedule. Doing the routine almost every day had a bigger impact than longer workouts done sporadically.

Final Thoughts: A Simple Yet Effective Routine
This seven-minute routine has become a regular part of my mobility practice. It’s quick, easy to maintain, and really effective. For anyone who spends a lot of time sitting, this simple routine can be a game-changer for hip mobility.
 Amal Clooney’s skin shows why the new Charlotte Tilbury Magic Cream is being compared to a facelift