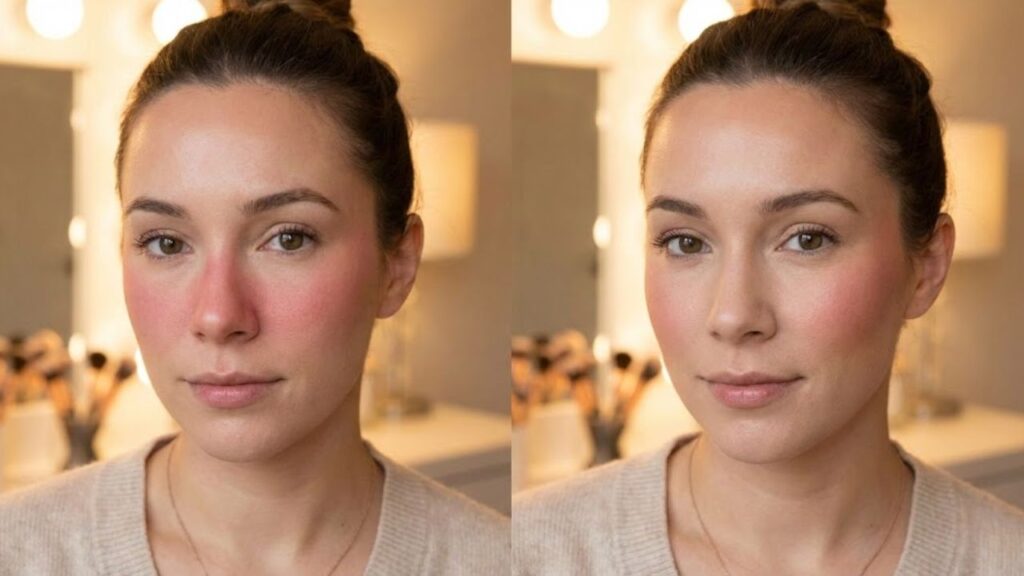
From a distance, the girl in the café looked perfect. Her eyeliner was neat, her eyebrows were well-shaped, and her lips were shiny. Something didn’t seem right when she got closer to the window. There was a thick line of colour on her cheeks right next to her nose, as if she had just run up a lot of stairs. The makeup was good, but it was put on in the wrong place. You may have seen this before on social media or when you were walking down the street. Sometimes, the blush on a person’s face is too close to the center, which makes the features look smaller and more compressed. When you look at it in the bathroom mirror, it looks fine, but when you see it on camera or in natural light, it throws off the whole balance of the face. That small difference of about two centimetres makes the difference between looking healthy and looking crowded. It’s not just about what you like. It all comes down to basic geometry of balance of the features look smaller thick line of.
How blush that is too close to the nose can mess up the balance of your face
Blush that is too close to the nose can make your face look thinner and more tense. The middle of your face becomes the center of attention, while your eyes and cheekbones move to the back. The colour doesn’t lift your features; it pulls them in. The parts of your face that are on the outside seem to go away. Blush near the nostrils can also make your skin look tired instead of fresh by drawing attention to any redness around your nose. This placement can look puffy or crowded from a distance instead of soft and romantic. What should add depth ends up making everything flat. You can see it right away in selfies taken in bright office lights. The person looks like themselves, but something doesn’t feel right. Their nose looks bigger. The middle of their face looks busy. Their outer cheeks look weirdly pale. When you put blush near your nose in pictures, it tends to mix with any natural redness around your nostrils. Your phone camera makes it worse because it makes shadows and contrast sharper, which makes the blush near your nose look like a solid block of colour instead of a soft glow. Some makeup artists who work in TV say that there is a “danger zone” around the nose where too much colour makes the face look smaller and more tired, especially when the lights are on in the studio. That’s why red carpet blush is always put higher and further out. It’s easy to see why. Your face is not flat; it has both vertical and horizontal lines. Blush changes how those lines look. Putting colour very close to your nose makes the vertical line from your forehead to your chin look shorter and more compressed with too close to middle of your danger zone around red carpet blush.
Also, read “Boot Wardrobe Refresh Begins With Celebrity-Inspired Styles Starting at $30.” Starting at $30, you can get celebrity-inspired styles to refresh your boot wardrobe.
Strategic Blush Placement That Makes Features Stand Out Instead of squishing them
Draw an imaginary vertical line down from the middle of your eye to get a basic reference point. This is the line that marks your inside. This line should not go past your nose. When you smile slightly, the part of your cheek that naturally curves out is where you should put your brush. You don’t need to smile big; just lift your mouth a little. Put your colour on there and then blend it out in a soft comma shape toward the top of your ear. Use thin layers because it’s easier to add colour than to fix a mistake that has spread too close to your nose. If you’re not sure, leave a small space of bare skin between the side of your nose and where your blush starts. A lot of people put blush too far in because they take the advice to focus on the apples of the cheeks too literally. When you brush too quickly in the morning, the brush gets too close to your nose, and this becomes a habit. For round faces, this can make the cheeks look fuller instead of lifted. It can make the center of an angular face look harsh and take the focus off the cheekbones. When you have textured skin, the colour near your nose tends to settle into your pores and fine lines. Everyone has seen their reflection later in the day and wondered why they look tired or flushed. Most of the time, the problem isn’t how much blush you used, but where you put it. A small change to the outside can make you look better in pictures all day with imaginary vertical line small space of apples of the soft comma shape.
Also read The Art of Being Unforgettable: 8 Small Gestures That Leave Lasting Positive Impressions.
How to Make a Lasting Impression: 8 Small Things You Can Do to Make a Lasting Impression
- Leave at least one finger’s width of bare skin between your nose and blush.
- Instead of going straight across your face, tilt your brush slightly up.
- Before putting the brush on your skin, get rid of any extra product.
Dennis Wolf Talks About PED Balance and Longevity in Professional Bodybuilding Dennis Wolf Talks About PED Balance and Longevity in Professional Bodybuilding
- Blend more on the outside than the inside.
- Look at your face from an arm’s length away, not from the mirror.
Let’s be honest: no one spends ten minutes every day blending blush. That’s why simple visual guides like the center-of-eye line and the one-finger gap are better than complicated contour instructions. They work whether you’re using a cheap cream stick or a fancy compact, and even if you’re half asleep before work with center-of-eye line and one-finger gap are simple visual guides ten minutes every.
Making your own facial balance that goes beyond makeup trends on social media
There isn’t one right way to put on blush because it depends on the look you want to achieve. For some faces, moving blush a little closer to the nose can make them look cute and young, like a natural cold-weather flush. But if you go too far with this placement, it will look unbalanced instead of planned. Different people like different amounts of colour on their faces. Some people like a bright pink blush in the middle that looks fun and is inspired by Korean beauty trends. Some people like a little bit of colour on the cheekbone that acts like a soft filter. The most important thing is to know how each placement changes your overall look and then make choices on purpose instead of just doing what you always do. You should try a simple test the next time you put on blush. Put blush on one side the way you normally do, with the colour closer to your nose. Put it a little higher and farther out toward your temple on the other side. Take a step back and take a picture in natural light so you can see the two sides better. Check out which side makes your eyes pop more. Notice which side makes your nose look like a natural part of your face instead of the main focus. Instead of copying the last makeup tutorial you saw late at night, think about which side fits your style better. You might be surprised by what you learn when you show these comparison photos to a friend. This exercise isn’t meant to make you feel bad about your looks. It helps you see how the placement of colour affects where people look first. The more you play around with different placements, the more you see that your face doesn’t need fixing; it’s just a canvas you can arrange in different ways. Putting blush close to your nose is a small part of your overall makeup look, but it makes a big difference. You can change the intensity whenever you want once you know this rule. The goal is not to hide anything, but to choose which feature you want people to notice first with natural cold-weather flush bright pink blush placement of colour overall makeup look.
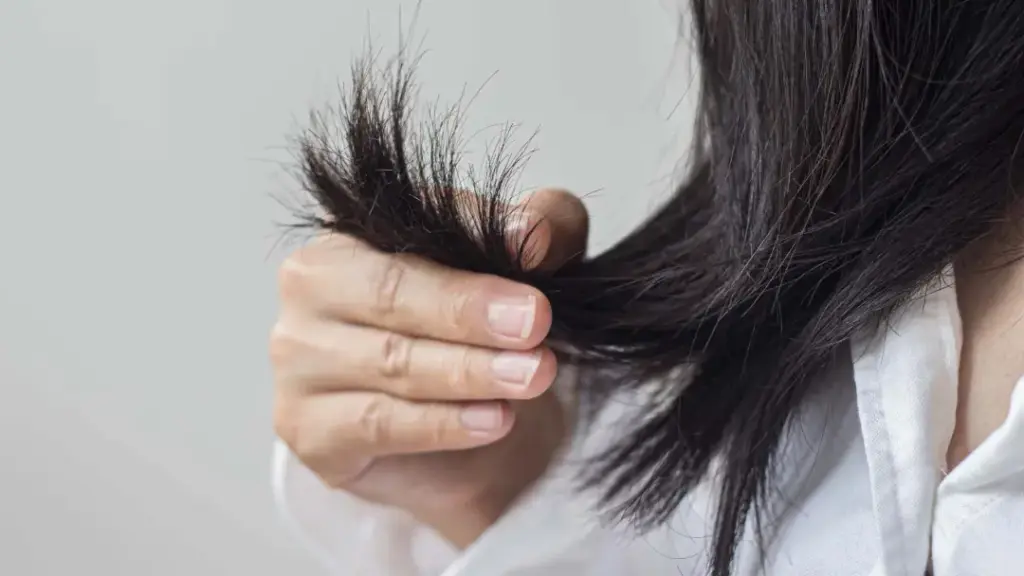
Eight shampoos that give your hair a shine like a mirror without leaving a lot of residue Eight Shampoos That Leave Your Hair Shiny Like a Mirror Without Leaving a Heavy Residue
| Main Area of Focus | Updated Guidance | Why It’s Important |
|---|---|---|
| Space Close to the Nose | There should be a small area of bare skin between the nose and the blush. | Keeps the face balanced and doesn’t make the center too crowded. |
| Rule for Blush Positioning | Stop putting on the application before you get to the vertical line below the center of the eye. | It makes you look lifted instead of heavy or puffy. |
| Blending Direction | Spread the colour out and up toward the temples in a soft way. | Visually opens the face, defines the cheekbones, and looks good on camera. |