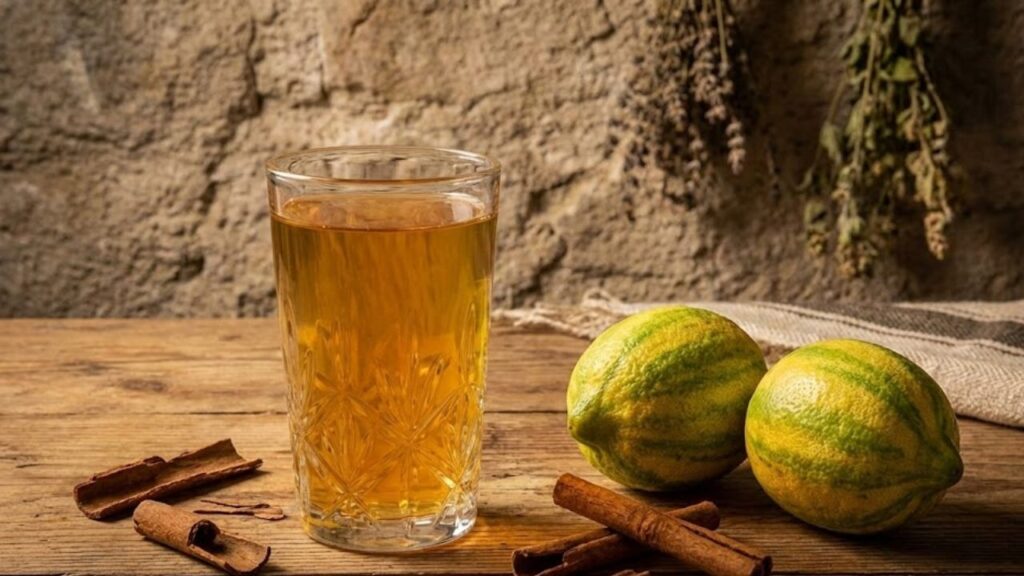
The radiator began to make its usual metallic ticking sound, which usually meant that warmth was on the way. The wind moved through empty branches outside and shook the window frames, which was a quiet sign that colder weather was coming. The air inside was warm enough, but it felt thin and dry. Your throat felt scratchy, your hands felt tight, and your nose felt like it was about to sneeze at any moment. Then you remembered hearing something from an older family member or online about putting a glass of water next to the radiator to make the room feel warmer. You look at the kitchen and wonder how a regular glass of water could really help warm up a room. It sounds like an old story or belief. But as the night goes on and the air gets even drier, you fill a glass all the way up and carry it back to the radiator to put it down. Something small starts to change as the water slowly warms up. It happens quietly at first, but winter always reveals its secrets like this.
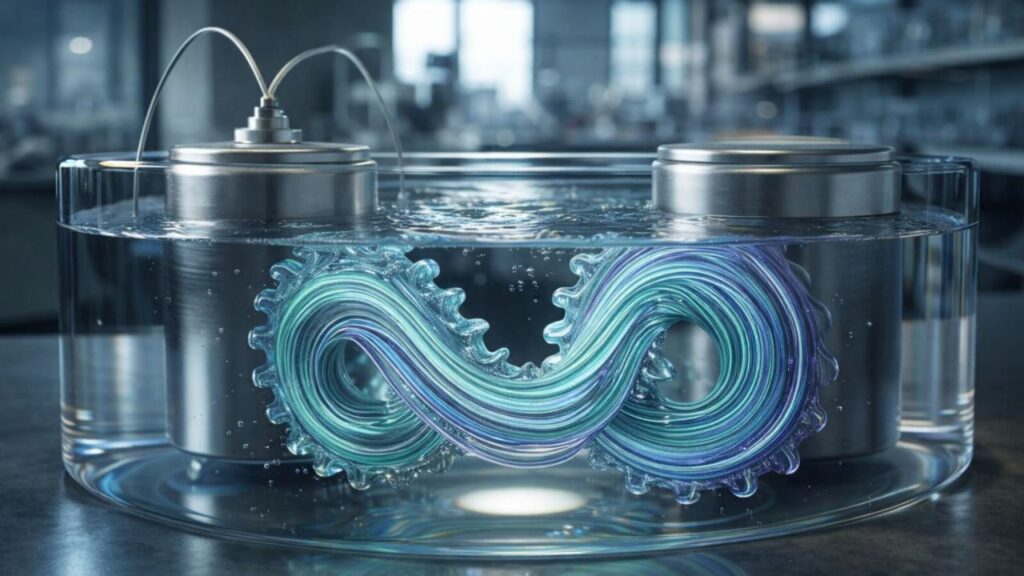
The Science Behind a Simple Glass of Water
It seems almost too good to be true that a simple glass of water can make a room feel warmer without raising your energy bill. After all, water doesn’t make heat. It’s not a small heater that works quietly on your windowsill. The real reason is much more complicated. It’s not about making you warmer; it’s about helping your body feel the warmth that’s already there better.
Also read: Boot Wardrobe Refresh Starts With Styles Inspired by Celebrities That Cost $30
Boot Wardrobe Refresh Starts with Styles Inspired by Celebrities for as Little as $30
A radiator does two things at once: it heats the air and dries it out. At first, you might not notice how dry it is. You might feel it as a scratchy throat, tight skin, static in your clothes, or those little shocks you get when you touch metal. It’s not as clear how dry air changes how your body feels temperature.
Why Dry Air Makes Warm Rooms Feel Colder
The air around you is always taking heat away from your body. When it’s very dry, the moisture on your skin and in the air you breathe out goes away faster. This process takes heat away from your body, which makes you feel cooler, even if the thermometer says the room is warm. The radiator is working perfectly, but the reading on the wall doesn’t quite match your body.
This is where the water comes in. It slowly absorbs heat and releases moisture into the air through gentle evaporation when it is near a heat source. Even though the change in humidity is small, it can be enough to keep your skin and lungs from losing too much moisture. The temperature hasn’t changed, but the room feels softer, warmer, and more comfortable to your body.
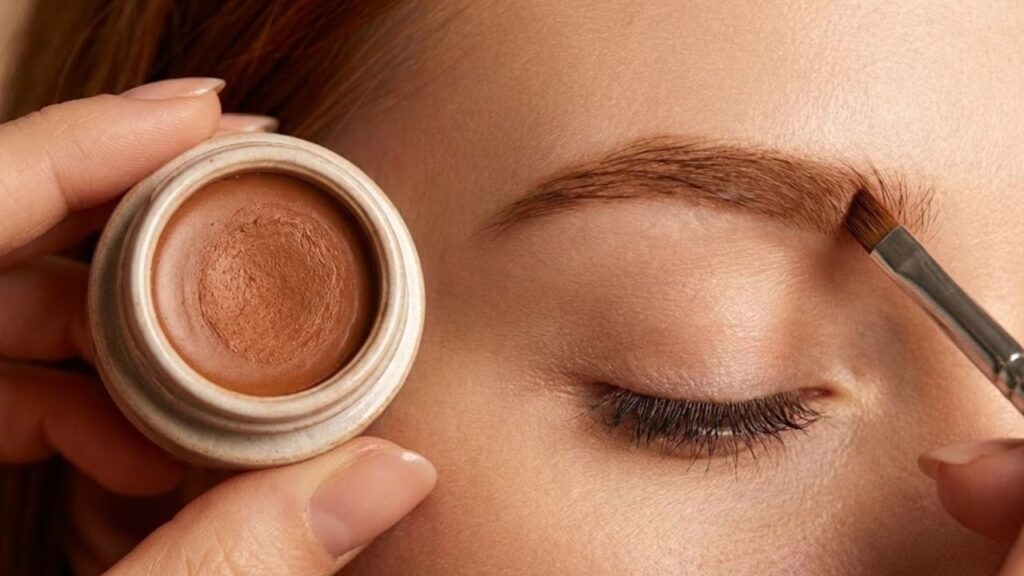
Aloe Vera: The Gentle Tamer
Aloe vera has been good for skin for a long time, even before it came in neat bottles. Aloe gel that is pure feels cool, light, and a little slippery. It never feels stiff or sticky. It works like a quiet, understanding styling agent on eyebrows, holding them in place without being harsh.
Aloe is the main ingredient in a homemade brow gel. It has a natural texture that gives light to medium control, keeping brow hairs in place while still letting them move. When you use a high-quality gel with few extras, it also gently hydrates your skin every time you use it, making the process feel more like care than correction.
Cocoa Powder: A Colour from the Kitchen
Cocoa powder adds warmth, depth, and colour that comes from nature. Its deep brown colour makes a great brow tint, especially for light to medium-dark shades. When mixed with aloe, cocoa makes a soft, stain-like colour instead of a bold, painted one.
The beauty is in the power. A small pinch gives a hint of definition, and a little more makes the look more defined. The result blends in perfectly with natural brows, so there are no harsh lines. Using the same ingredient that gives hot chocolate its flavour to gently frame your face is very satisfying. Beauty and nourishment come from the same place.
Getting together your Little Alchemy Kit
Making your own brow gel is more like a small ritual than a cosmetic project. Each item has its own job: clean jars, a simple spoon, and a spoolie brush. The process is calm, touchable, and not rushed.
Dennis Wolf Talks About PED Balance and Longevity in Professional Bodybuilding
Dennis Wolf talks about PED balance and how long professional bodybuilders can stay in shape.
Aloe vera gel and cocoa powder are the main ingredients in the recipe. You can add things like a drop of jojoba oil for slip or a pinch of coffee or charcoal for deeper tones later on if you want. The beauty of this recipe is that it only has two simple ingredients that are mixed together in a smart way.
Item: Role and Use
| 2 teaspoons of pure aloe vera gel that is clear and unscented | Acts as the main base, giving natural hold, easy application, and moisture. |
|---|---|
| ¼ to ½ teaspoon of cocoa powder that isn’t sweet | Adds a soft, natural colour to make your brows look better |
| A small, clean glass jar or container with a lid | Used to keep the mixture safe after it was made |
| A clean spoolie or angled eyebrow brush | Helps put the product on brows evenly and shape them |
| A small spoon or stick for mixing | Used to mix and blend all the ingredients together smoothly |
Mixing the Gel: Easy, Slow, and Fun
Put about two teaspoons of aloe vera gel in a clean jar. Add about a quarter teaspoon of cocoa powder and stir slowly, breaking up any lumps. The clear gel slowly changes into a smooth, dark brown colour.
Put some colour on the back of your hand and let it dry for a short time. Add more cocoa for depth or more aloe for softness as needed. The texture should be creamy, not too thick or too thin, and it should be easy to spread. After mixing, close the jar and let it sit for an hour so that everything settles evenly.
Using the Gel with Care and Purpose
This homemade gel makes you want to take your time. Begin with brows that are clean and dry. Put a little bit of the spoolie in the jar and wipe off the extra. Brush through the brows in short, feathered strokes that follow the way the hair grows naturally.
Start at the inner brow and work your way out, shaping instead of drawing. Let the first layer dry, then add a second layer, paying special attention to areas that are sparse. If you need to, an angled brush can help you make it look like individual hairs. The finish stays soft and flexible; it never gets hard or heavy.
Nature, skin, and the choice to make things easier
Making a simple product at home means something. It cuts down on waste, limits extra ingredients, and brings you back to the act of making things. Every time you refill a small jar, you get rid of a disposable tube. Every time you use it, it reminds you that beauty doesn’t have to be hard or far away.
Natural solutions don’t work for everyone, and you should pay attention to your skin. Patch testing is necessary, and changes are a normal part of the process. There is still power in taking your time, stirring something by hand, and shaping your brows with purpose instead of haste.
You remember that beauty can be gentle, useful, and very personal in that short moment when you have a brush in one hand and cocoa-scented gel in the other. It can start with the most basic things.