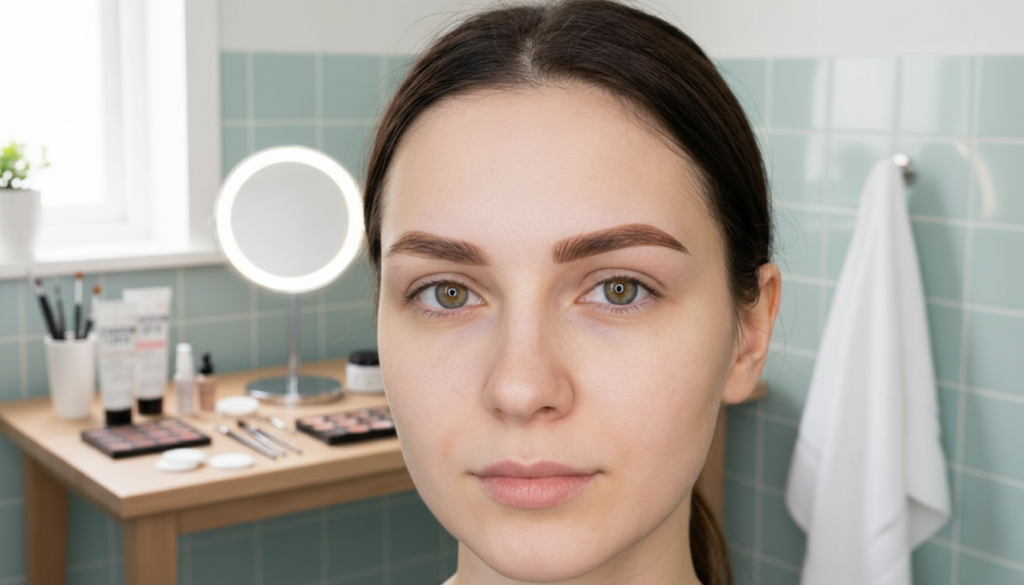
Achieving well-shaped, natural-looking eyebrows without needing a pencil every day is a goal for many. If done correctly, tinting your eyebrows at home can last anywhere from three to six weeks. The key is precision and care to avoid dark, uneven results and instead create brows that appear balanced and flattering. This guide will walk you through how to safely and neatly tint your eyebrows without creating a mess or spilling any product.
Benefits of Tinting Brows at Home
Tinting your brows at home is more than just a convenient alternative to salon visits. Most at-home tinting kits come with enough product for multiple uses, while professional appointments typically only cover one session. Doing it yourself gives you full control over the shade’s depth, the softness of the front, and the overall shape. Your brow color can last between three to six weeks, and any light staining on the skin fades naturally within a week, ensuring a smooth and gradual transition.
How Long Does Brow Tint Last?
The duration of your brow tint depends on factors like your skin type, daily habits, and the products you use. Typically, the color stays intact for three to six weeks, while skin stains usually fade within five to seven days. If you have oily skin, swim frequently, or are exposed to the sun a lot, the color may fade sooner—around two to three weeks. Avoid heavy oils, balms, and scrubs near the brows to extend the tint’s lifespan.

Essential Tools for At-Home Brow Tinting
While you don’t need professional tools, having the right essentials ensures an even application and safe results. Gather ammonia-free tint or gel, a developer or oxidant, a glass or plastic mixing cup, a brow brush with precision, cotton pads and swabs, a thick cream or petroleum jelly for skin protection, a clean spoolie, gloves, a gentle toner or micellar water, and a timer or phone stopwatch. Never use regular hair dye on your brows as it can harm your eyes, and some ingredients may cause allergic reactions.

The Importance of a Patch Test
Before applying any tint, always perform a patch test. Apply a small amount of the mixed product to a spot behind your ear or inside your elbow. Leave it uncovered for 48 to 72 hours, and check for any signs of redness, itching, swelling, or blisters. This simple step helps avoid allergic reactions and potential eye irritation when working around such a sensitive area.
Step-by-Step Guide for Salon-Like Brows at Home
Step 1: Shape your brows the day before. Tweeze only the hairs that clearly fall outside the desired shape. Avoid thinning your main brow shape. Lightly trace the shape with a pencil and use micellar water to clean the area of oil for a smooth application.
Step 2: Protect the skin around your brows by applying a thin layer of thick cream or petroleum jelly along the outline, avoiding contact with the brow hairs. This creates a barrier to prevent staining and ensures clean, sharp edges.
 A bay leaf under the pillow : the small night routine I once mocked, until it changed my sleep
Step 3: Prepare the tint mixture according to the instructions, usually mixing 0.5 to 0.75 inches of tint with an equal part of developer. Stir until smooth. Choose a color one to two shades darker than your natural brows but avoid overly dark hues.
Step 4: Apply the tint to the thickest parts of your brows, starting at the corner closest to your nose. Use small strokes to follow the hair growth direction. Apply a lighter amount of product as you move towards the tail for a smooth gradient, ensuring even coverage of all hairs, including lighter or grey ones.
Step 5: Set your timer for the recommended time (7-15 minutes). After 3-5 minutes, gently comb through the inner part of your brow with a spoolie to soften the front and prevent harsh lines.
 Forget the French bob, this bob haircut will be the trendiest in 2026, according to experts
Step 6: Once the processing time is complete, remove the tint gently with a cotton pad. Avoid scrubbing, as it can irritate your skin and stress out the hair follicles.
 Meteorologists warn February may open with an Arctic shift scientists are struggling to model